- Android Auto will allow you to control your car radio very soon
- Qualcomm Snapdragon 8 Gen 4: the high-end Android processor of 2025 already has a presentation date
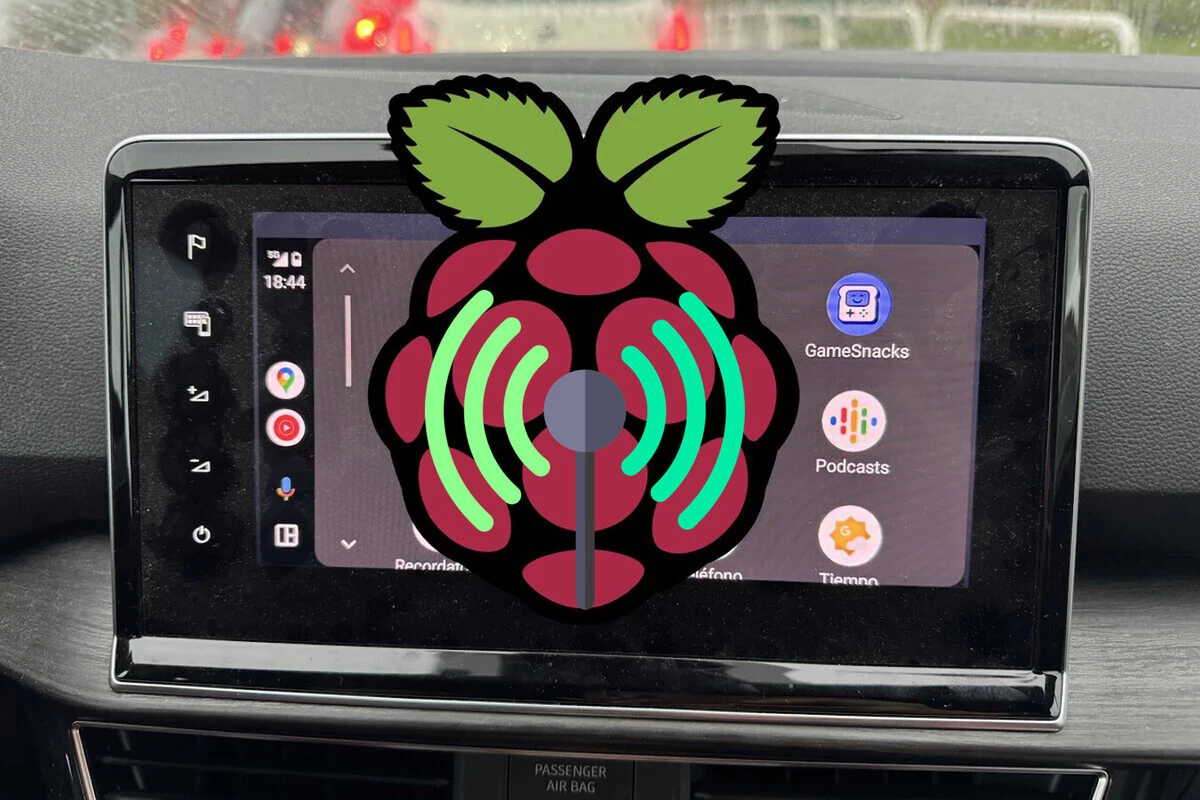
Although it is relatively common to find recent cars that support Android Auto, if we want to use it wirelessly the list is significantly reduced. Because yes, wireless Android Auto is a scarce quality, so the solution is to buy an adapter or, if we like technology and tinkering, this DIY project to put wireless Android Auto in any car that already has Google’s infotainment system.
Let’s start by saying that if what we are looking for is simplicity and spending as little as possible, the most practical thing is to use a wireless adapter and forget about it, but if you have a Raspberry Pi at home gathering dust in a drawer, you know a little about computing and you want to experiment, we tell you how to do it step by step.
How to turn your wired Android Auto into wireless with Raspberry Pi
An essential requirement to start is that your car already has Android Auto (yes, it is also possible to have Android Auto from scratch with a Raspberry Pi) with a cable, a Raspberry Pi and an SD card, which will be on which we will record what is necessary to have a wireless Android Auto dongle. We will also need a USB cable for data transmission.
As the GitHub project explains, this project should work on devices that support USB OTG mode, that have Wi-Fi and Bluetooth, and are powered by the power provided by the vehicle.
The next thing will be to download and save the image (be careful, it is not enough to copy and paste, you will have to use a program like Etcher to write the image in the SD) from here, where you will find different versions depending on whether you are going to use a Raspberry Pi 4, 3A+, Zero 2 W. (If you are going to buy one, better the latter for its low price and compact design)

When you have the SD saved and inserted into the Raspberry Pi, we proceed with the first connection. The first thing will be to connect the phone to the car unit with a USB cable that supports data transmission for Android Auto to start. At that point, unplug the phone and put the Raspberry in its place.
Then, open the Bluetooth settings on your phone and pair the new device, which will be named something like “AndroidAuto-Dongle” or “AA Wireless Dongle“. And plain, from that moment on your Android phone will connect via Wi-Fi to the Raspberry Pi and it will be connected with a USB cable to the car unit, thus launching Android Auto on the vehicle’s screen.
From that moment on, every time you return to the car with your mobile phone with Bluetooth and Wi-Fi activated, the wireless connection will occur automatically. It is important that the cable is just the right length so that it allows us to store the Raspberry Pi in a safe place in the car so that it does not hinder us in driving. A case for the Raspberry is also a good idea, to prevent bumps or dust ingress over time.
Image: Icon by Freepik

Comments