- AI Comes to All-in-One PCs with Acer’s New Aspire C Series
- Still using Windows 10 on your PC? Microsoft confirms the date it will stop supporting you

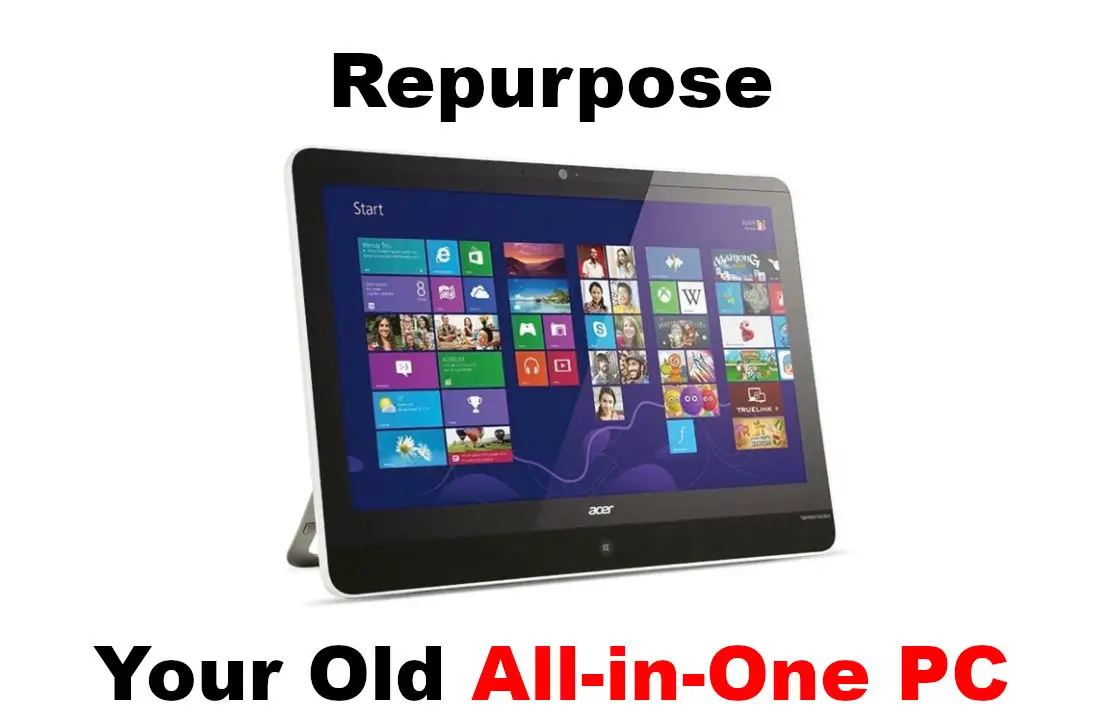
Are you pondering the fate of your old all-in-one PC that has served you faithfully for years? Instead of letting it gather dust or disposing of it, consider repurposing it as a monitor. In this guide, we’ll explore the possibilities and steps involved in utilizing your aging all-in-one PC display for a new lease on life. Let’s see why you should use all-in-one PC as monitor?
SEE ALSO: 3 Best Smart Monitors with built-in Smart TV
Why Repurpose Your All-in-One PC as a Monitor?
All-in-one PCs often have vibrant and high-quality displays. Repurposing them as monitors allows you to extend their usability, reducing electronic waste and potentially saving you money on purchasing a new monitor.
Well, first you have to check is your all-in-one PC supports features required it to be a monitor.
Compatibility Check: Can Your All-in-One PC Become a Monitor?
Before diving into the transformation process, it’s crucial to ensure that your all-in-one PC supports the feature of using its display as an external monitor. Not all models have this capability, so check the user manual or search online for your specific model to confirm its compatibility.
If it supports then sure to move on to the actual steps to make it a monitor.
Step-by-Step Guide: Transforming Your All-in-One PC into a Monitor
- Check for Video Input Ports:
Examine your all-in-one PC for available video input ports. Most commonly, you’ll find HDMI or DisplayPort inputs. If your device lacks these, the repurposing process might be challenging. - Identify the Video Output:
Confirm that your all-in-one PC has the capability to output video signals. Check for HDMI, DisplayPort, or other video output ports. - Connect External Devices:
Using the appropriate cables, connect the video output from your primary device (another computer, laptop, gaming console, etc.) to the video input of your all-in-one PC. - Switch Input Source:
Access the on-screen menu of your all-in-one PC and navigate to the input source settings. Switch the input source to the one connected to your external device. - Adjust Display Settings:
On your external device, adjust the display settings to recognize the newly connected monitor. This may involve configuring resolution, orientation, and other preferences.
Though you may be using your all-in-one PC as monitor but there are limitations too.
Considerations and Limitations
While repurposing your all-in-one PC as a monitor can be a cost-effective solution, it’s essential to acknowledge potential limitations. Some devices may not support high refresh rates, and the experience might not match that of a dedicated monitor.
But still you are going right in recycling the old electronics.
Embracing Sustainability and Practicality
Transforming your old all-in-one PC into a monitor is not only a practical solution but also a step towards sustainable technology use. By giving your aging device a new purpose, you contribute to reducing electronic waste and potentially save resources. So, before bidding farewell to your trusty all-in-one PC, consider the possibilities it holds as a vibrant and functional display in its second life.
Take a leap into the world of repurposing and discover the renewed potential of your old all-in-one PC!
Related:


Comments