Upgrading your computer or replacing a hard drive can be a game-changer for your system’s performance. But what about your precious Windows 11 operating system? Fear not, because here, we’ll guide you through the essential steps to ensure you retain your Windows 11 setup after cloning your drive. The process might seem daunting, but with the right knowledge and a little patience, you can seamlessly migrate your operating system and data to a new drive without losing your Windows 11 experience. Join us as we uncover the secrets to a successful drive cloning, enabling you to continue enjoying the enhanced features and functionality of Windows 11 on your upgraded or new hardware.
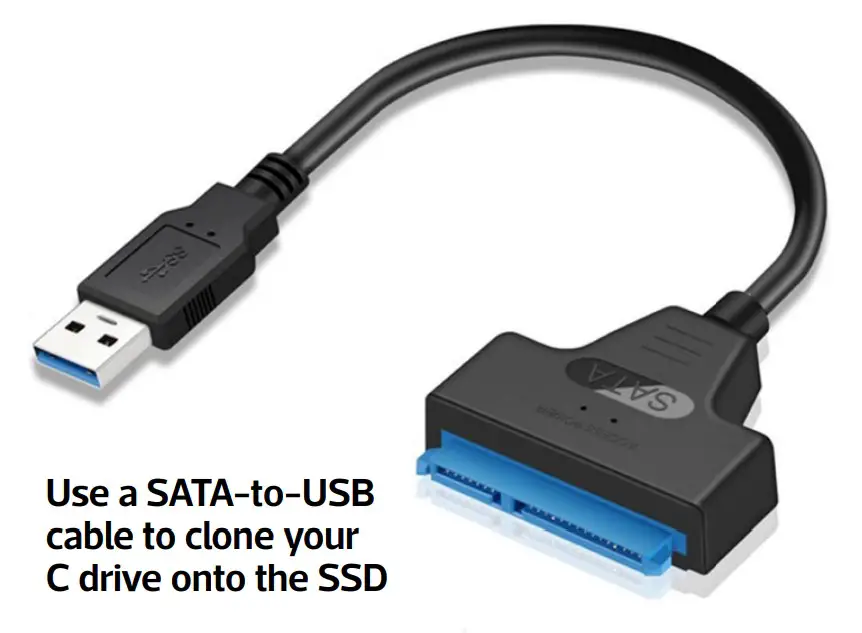
The process may seem complicated, but it’s quite straightforward. Your primary objective is to replicate the contents of your C drive onto the SSD. This can be accomplished before opening your computer, but it would require the purchase of a SATA-to-USB cable, enabling you to connect the SSD externally, easily available for around $5 on Amazon.
SEE ALSO: Where to get your BitLocker recovery key for Windows
STEPS TO FOLLOW:
To carry out the cloning, you can utilize the free HDClone tool.
Within the tool, navigate to ‘Clone,’ select ‘Disk,’ and designate the relevant drives from the source and target in the dropdown menus.
Click ‘Start‘ and patiently await the completion of the cloning process.
Upon starting the PC from the newly cloned drive for the first time, you might find it necessary to reactivate Windows 11. To achieve this, simply click on ‘Start,’ proceed to the Settings icon, access ‘System,’ and select ‘Activation.’ Follow the provided prompts to reactivate Windows 11.

Comments