The process of creating your own NAS-based cloud server has become remarkably easy thanks to the availability of modern operating systems and apps designed for NAS drives. In this guide, we’ll demonstrate how to set up a cloud solution using a Synology NAS equipped with a pair of 6TB Seagate IronWolf hard drives.
SEEL ALSO: Cubbit Cell Network Storage Drive – A Different Kind of Storage Device
Setting Up Your Cloud
STEP 1
Start by fitting the two IronWolf drives and going through the initial setup process. Please note that changes in NAS firmware and the operating system can result in screens that may differ from those shown below.
SETP 2
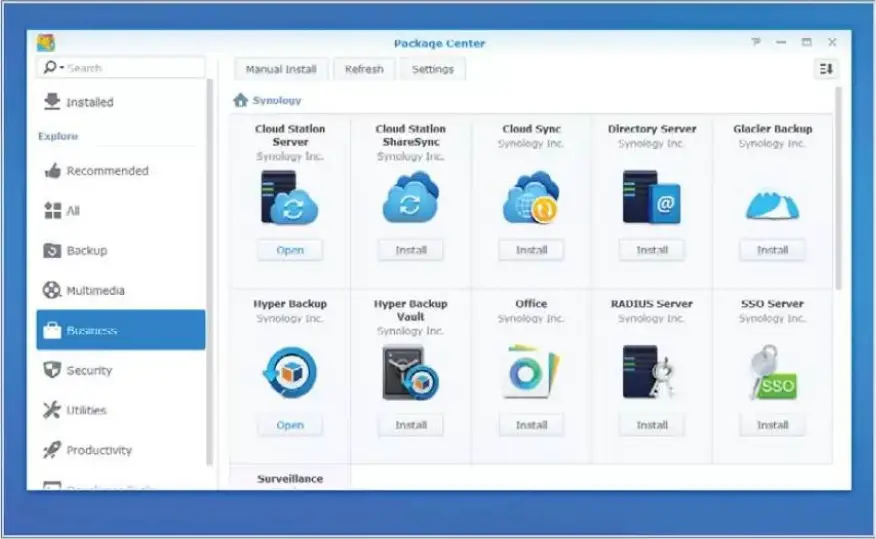
Install the Cloud Station Server from the Package Center, located on the DSM (DiskStation Manager) desktop. You can find the Cloud Station Server app in the Business section. Click ‘Install‘ and grant permission to install the app on your Synology NAS.
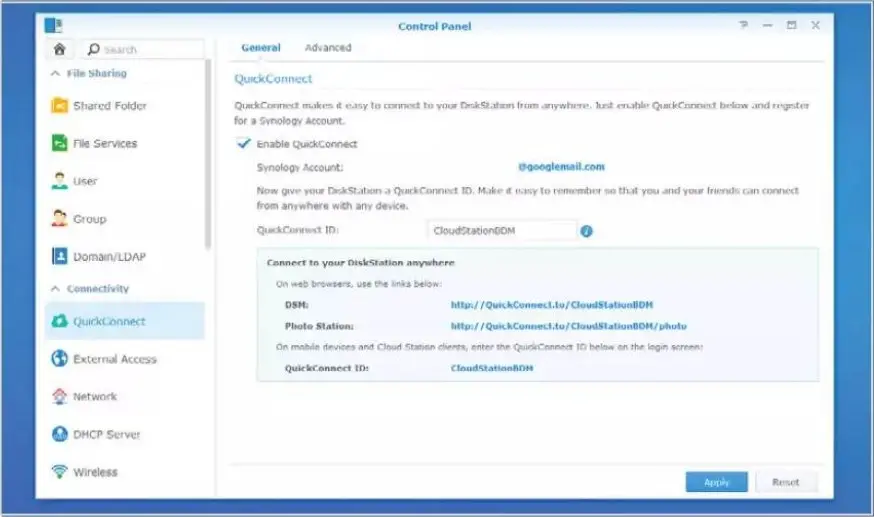
STEP 3
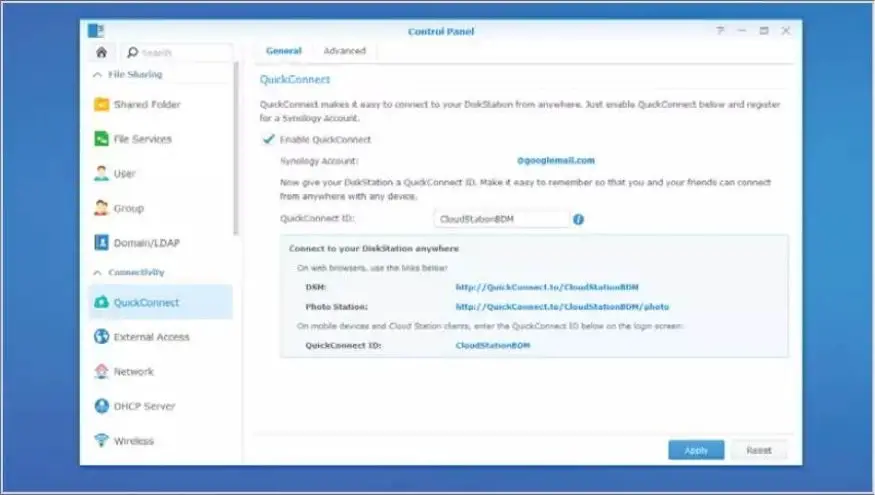
Open the Control Panel from the DSM desktop and navigate down the side panel until you reach QuickConnect. Click on the QuickConnect link and, in the main pane on the right, check the ‘Enable QuickConnect‘ box. You’ll need to enter your email and sign up for a Synology account. QuickConnect enables a connection to the cloud server without needing to access your router.
STEP 4
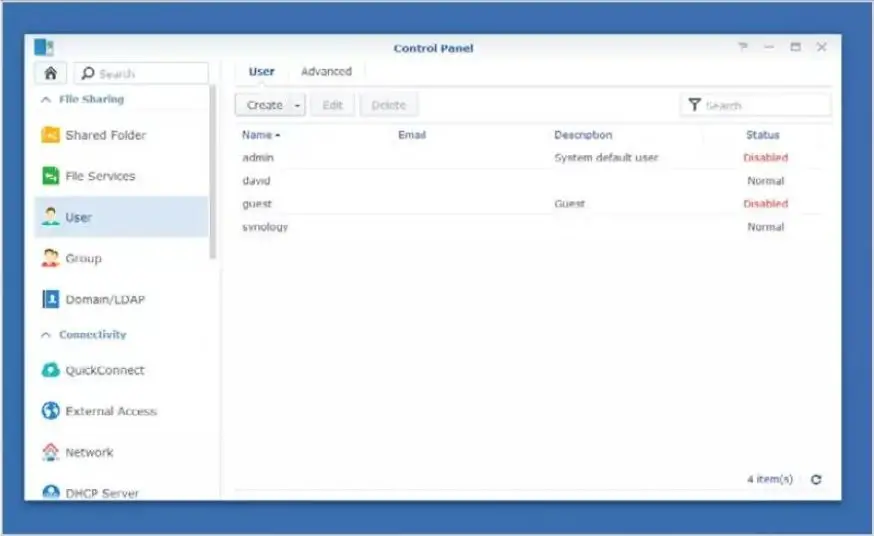
After enabling QuickConnect and confirming your new Synology account (via an email sent to you), click the ‘Apply‘ button in the Control Panel. Scroll up slightly in the Control Panel until you reach ‘User‘ and click on it. The right-hand pane of this section will display the current accounts with access to the NAS.
STEP 5
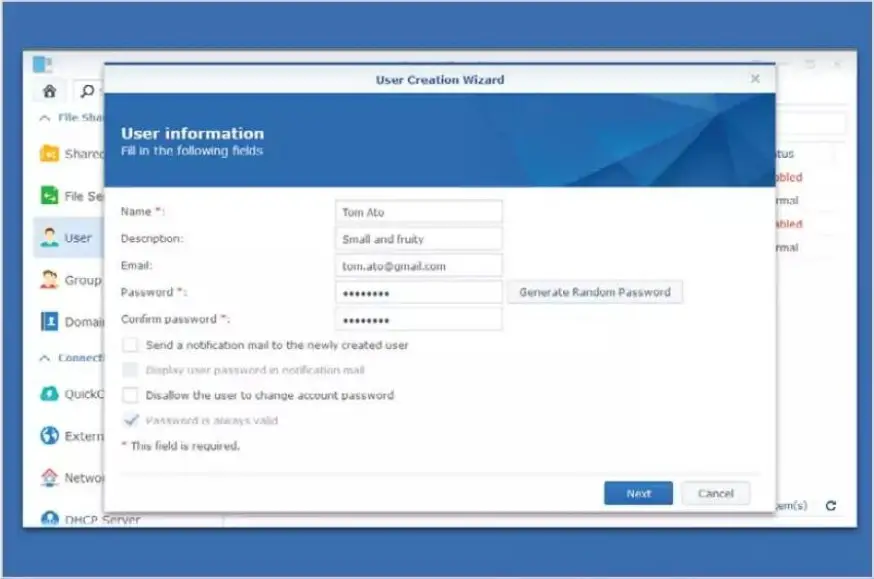
To create a new user, click the ‘Create‘ button and complete the form with the user’s Name, Description, Email, and Password. You can tick the boxes to send the user an email informing them of their new account. Click ‘Next‘ when finished.
STEP 6
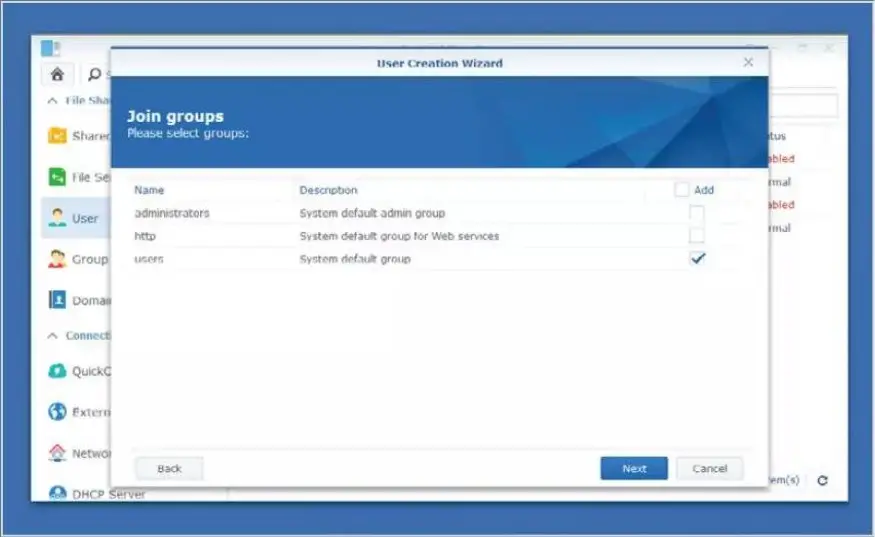
The next page lists the existing groups on the NAS. For most consumers, sticking with the built-in ‘Users‘ group is sufficient, but try to limit the number of Administrators to just yourself. Click ‘Next‘ to proceed.
STEP 7
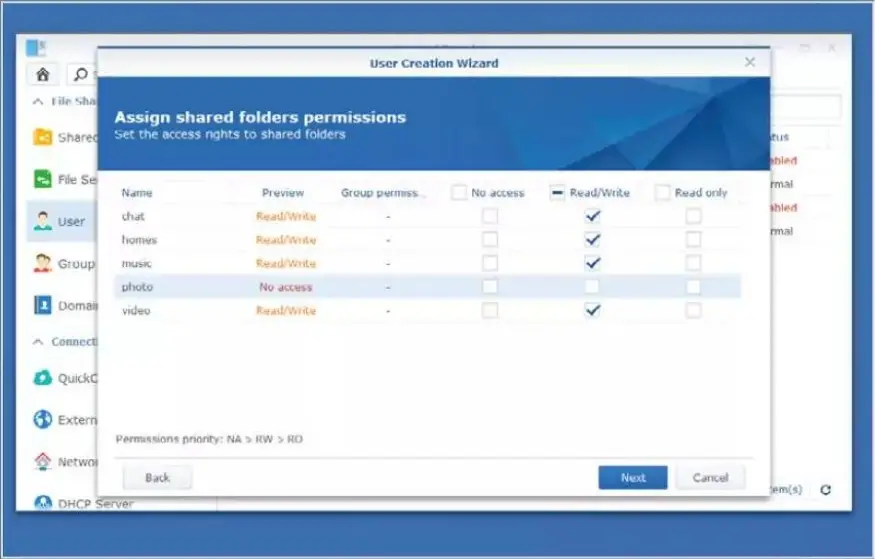
The built-in shared folders within the NAS include ‘Homes,’ ‘Music,’ ‘Photo,’ and ‘Video.’ On the next page, you can select the type of permission the new user will have for each of these folders. Don’t worry too much about the shared files, as you’ll create one shortly. Click ‘Next‘ to continue.
STEP 8
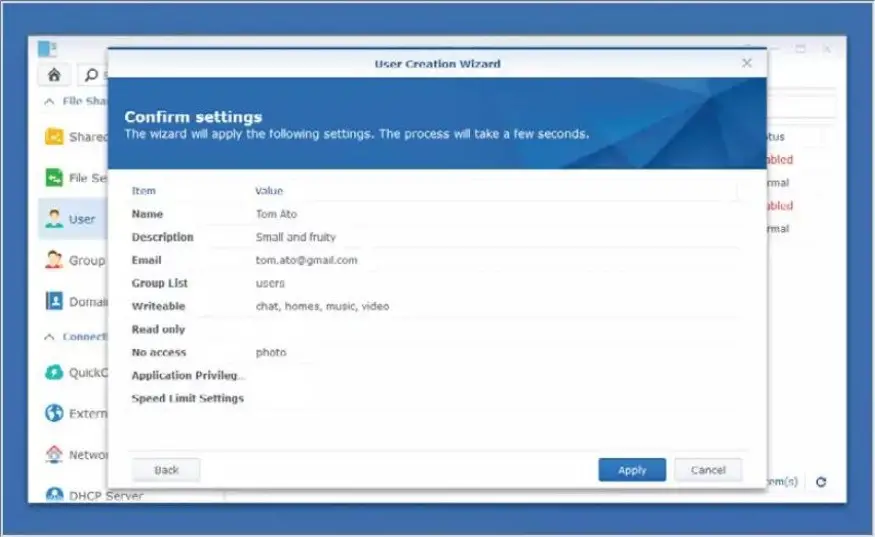
The remaining steps involve setting the disk quota allowed for the new user and defining their application access. You can assign permissions beyond the default settings or revisit them later for adjustments. When you’re done with quotas and app assignments, click ‘Apply‘ to create the new user.
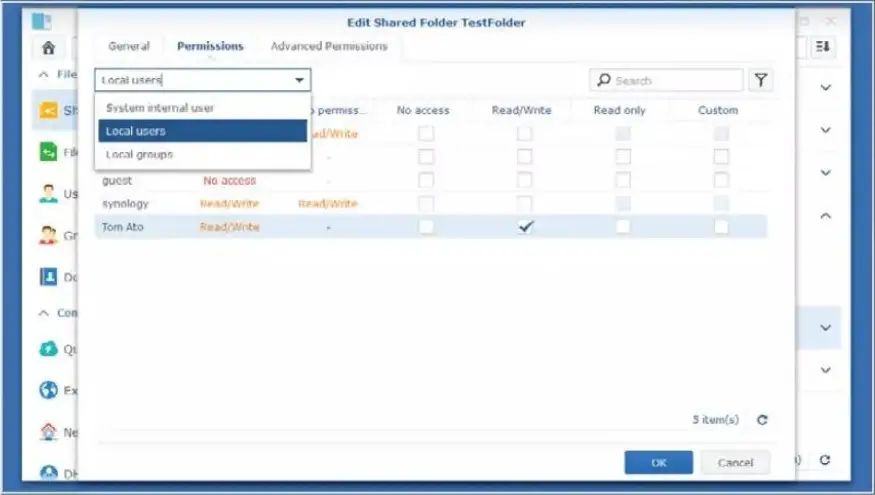
STEP 9
In the Control Panel, scroll up to ‘Shared Folders‘ and click the ‘Create‘ button. Enter a new name for the cloud-accessible shared folder, add a description, and click ‘OK‘ to create the folder. On the next screen, you can assign permissions to the new User or Groups, which can save you from adding individual users.
STEP 10
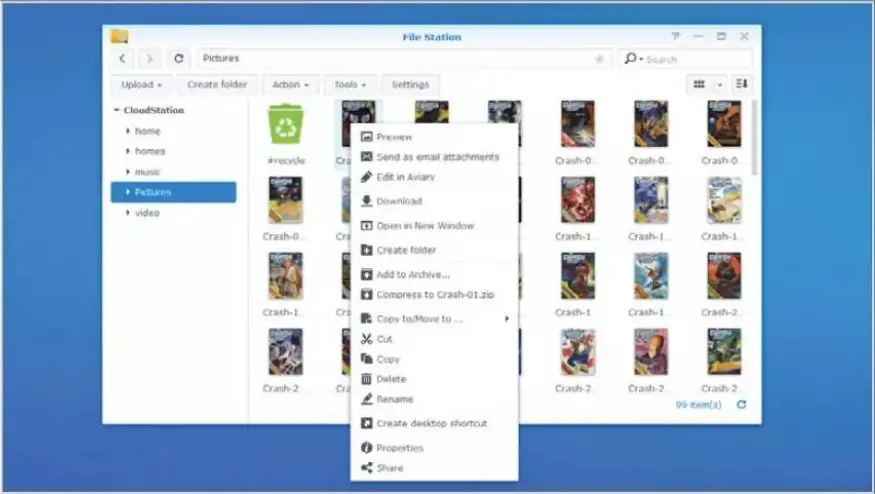
With an example user and shared folder now created, you can connect to the cloud server using the QuickConnect app. To allow external users access to the NAS, you’ll need to share the QuickConnect address, which can be found on the QuickConnect app page. The address will be in the format of http://QuickConnect.to/NAMEOFNAS, where ‘NAMEOFNAS‘ is the QuickConnect name you set up.
Once the user has entered the address, they’ll be directed to the DSM page to input their NAS login details. This will grant them access to a customizable DSM desktop, similar to the one used by the NAS administrator. By clicking on ‘File Station,’ they can upload, download, view, and share content for which they have permission on the NAS.”
Hope you find this NAS guide helpful, comment down below your NAS related queries, and we will cover the topics in future posts.

Comments