Photography is not just about capturing moments; it’s about crafting stories and evoking emotions. One powerful storytelling technique in the realm of photo editing is background replacement. Whether you’re looking to transport your subject to a different world or simply enhance the visual impact of your images, this technique offers endless creative possibilities. In this guide, we will delve into the world of Photoshop Elements and unveil the secrets of seamlessly replacing backgrounds in your photos. From selecting subjects with precision to harmonizing colors and perfecting the fine details, you’ll discover the art of turning ordinary photos into extraordinary works of visual art. Join us on this transformative journey and watch your images come to life in ways you never thought possible.”
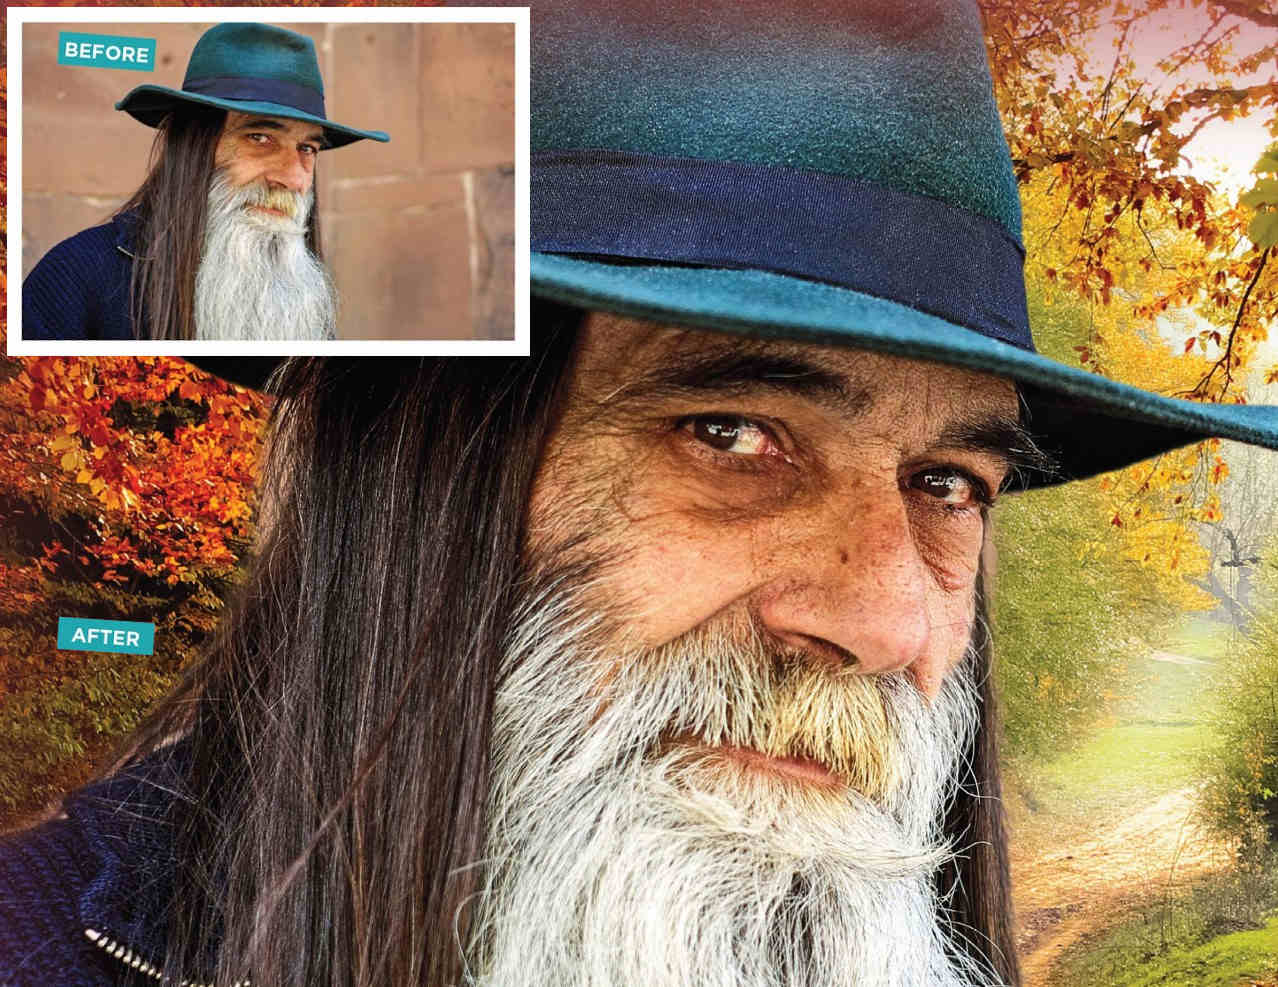
It’s no exaggeration to suggest that the ability to seamlessly extract a subject from one photo and transplant it into another is a fundamental skill for any photo enthusiast. Whether you’ve encountered this challenge before or have only pondered the idea while perusing your photo collection, fear not – a remarkable Guided edit is here to assist you.
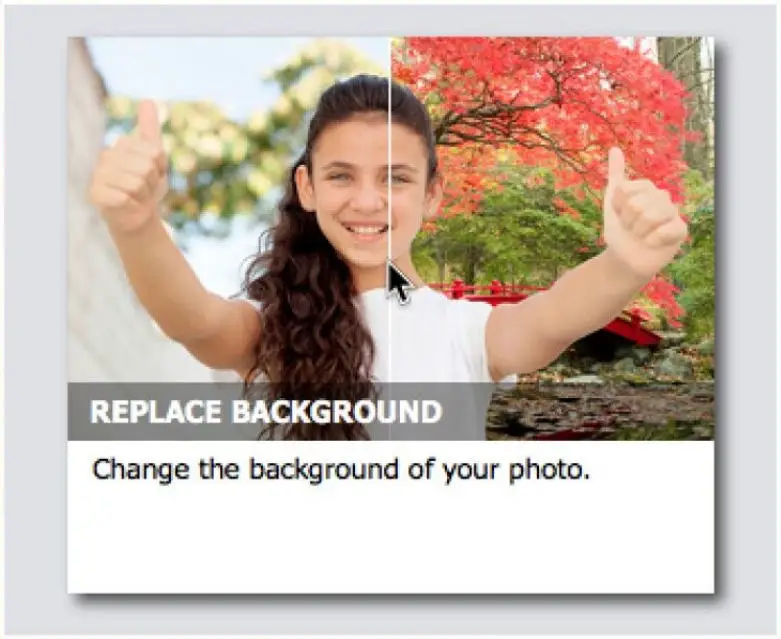
Within the Guided workspace, you’ll discover the ‘Replace Background‘ edit nestled under the ‘Special Edits‘ category. Begin by adding the photo you wish to work on to your Photo Bin.
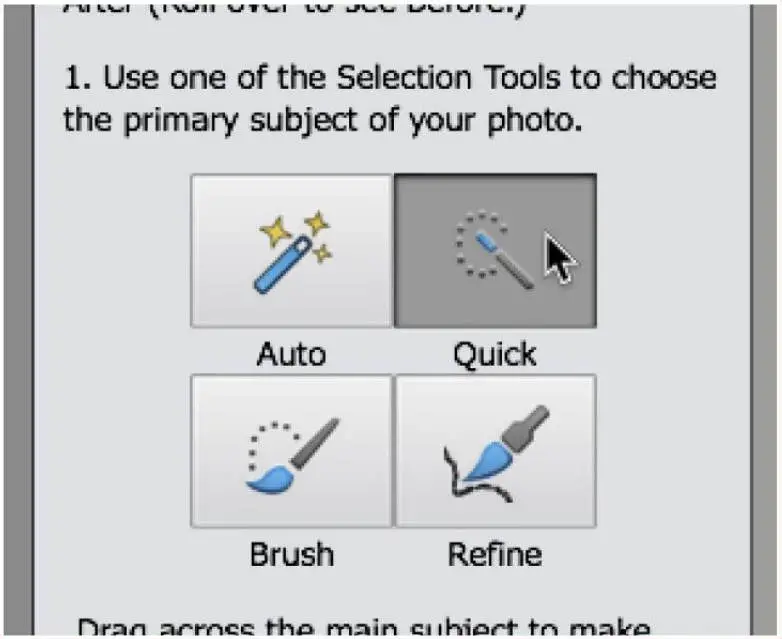
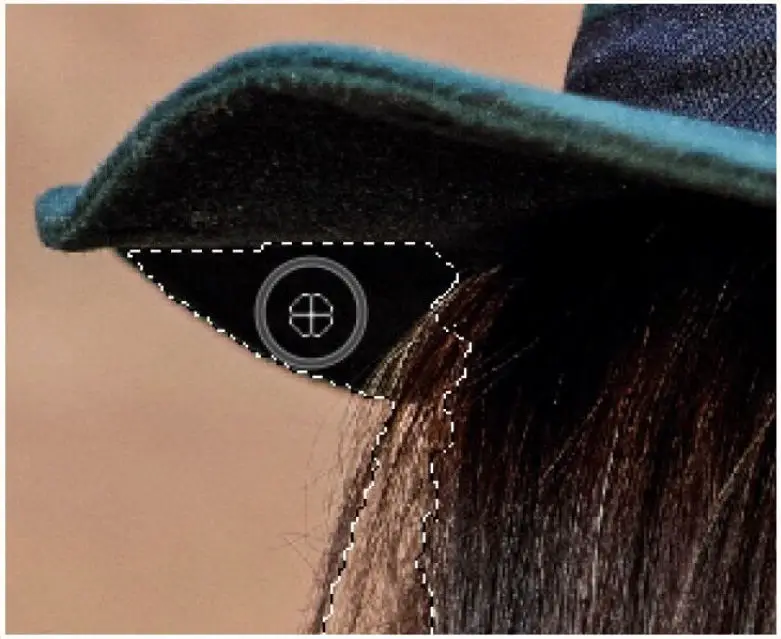
Choose your preferred selection tool; the Quick Selection tool often proves effective for isolating the subject. Carefully drag your cursor within the subject’s edges to create a selection.
Utilize the tool’s options to refine your selection, ensuring stray areas are eliminated. The ‘Refine‘ tool is a valuable asset for enhancing the selection’s precision.
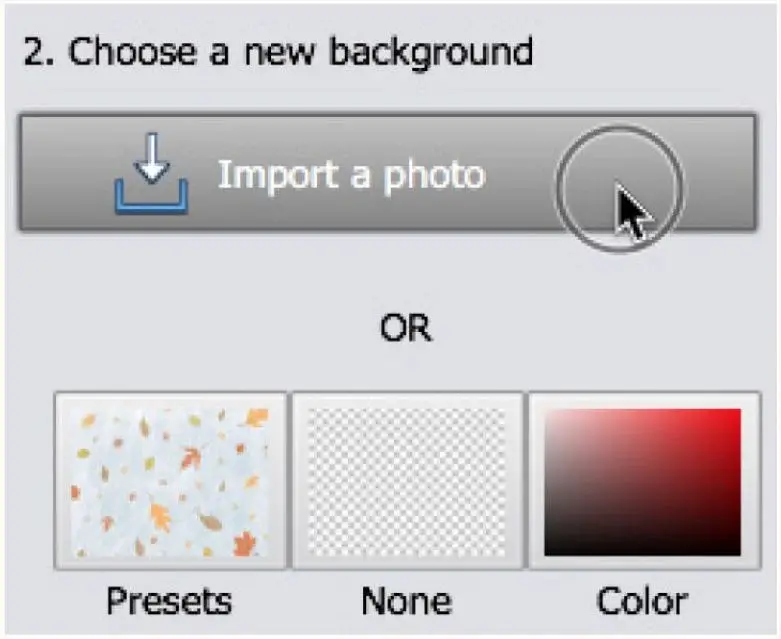
Next, introduce a new background photo, positioning it behind your primary subject. Both the subject and background are flexible and can be adjusted as needed.
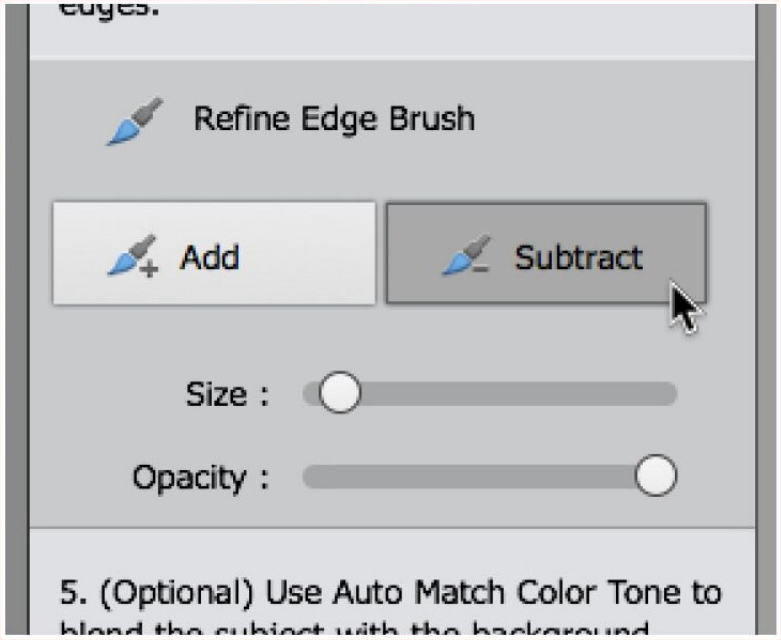
For those seeking additional precision, further refinements to the subject’s outline are at your disposal. A soft brush can be employed to feather the transition between the foreground and background seamlessly.
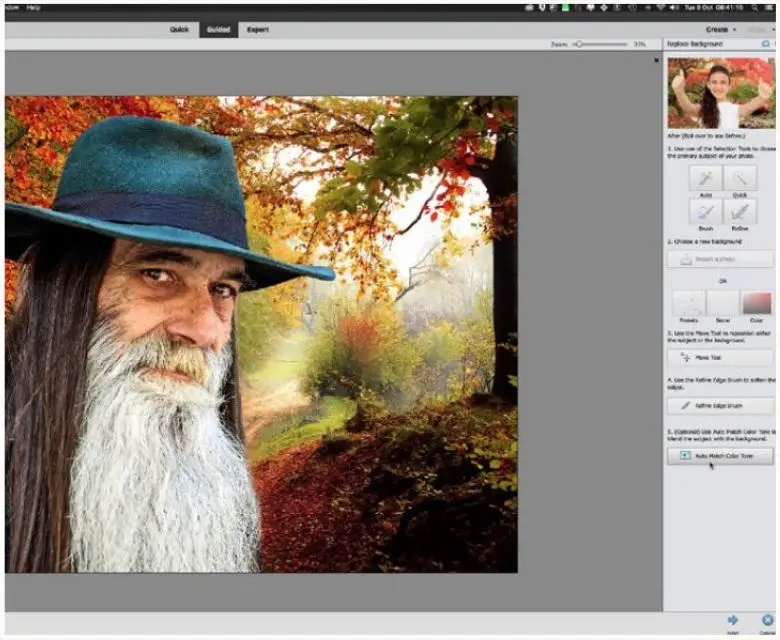
Enhance the cohesiveness of your image by clicking ‘Auto Match Color Tone,’ aligning your subject’s colors with the background. Finally, save your masterpiece in PSD or jpeg format.”
Share your creations in comments.
Related: How to Remove Your Ex from Photos with Artificial Intelligence

Comments