Light plays a vital role in photography, often serving as the key element that transforms an ordinary scene into something extraordinary. It can shape the mood, highlight subjects, and add that touch of magic that elevates your images. Creating beams of light in your photographs is a technique that can dramatically enhance their visual impact, and Lightroom Classic provides a simple and effective way to achieve this. In this guide, we’ll explore how to infuse your photos with radiant beams of light using Lightroom Classic’s powerful tools.
Whether you’re aiming to add a touch of drama to your landscapes, illuminate a subject in a portrait, or evoke a dreamy atmosphere, mastering this technique will undoubtedly enhance your photo-editing skills. So, let’s delve into the steps to bring a new dimension to your images through the art of crafting light beams.
First create a straight line using the Brush masking tool (K), begin by clicking once at the starting point of your desired line. Then, while holding down the Shift key, move the brush to where you want the line to end, and click again. This action will automatically draw a straight line between the initial and final points you selected. The crucial step is to maintain the Shift key pressed after your first click to establish the starting point.
SEE ALSO: How to Sync a Face Retouch (Lightroom)
Now that you’ve created a precise brushstroke previous step, let’s craft radiant beams of light around it. Opt for the Brush tool (K) within the Masking tools, and adjust the Exposure slider to +2.00. In the Brush options, you’ll encounter two brush options: A and B.
Begin by selecting the A brush. Configure the Feather and Flow settings to 100, and then minimize the brush Size slider all the way down to 0.1. Apply a single brushstroke with the A brush where you intend the beam of light to commence.
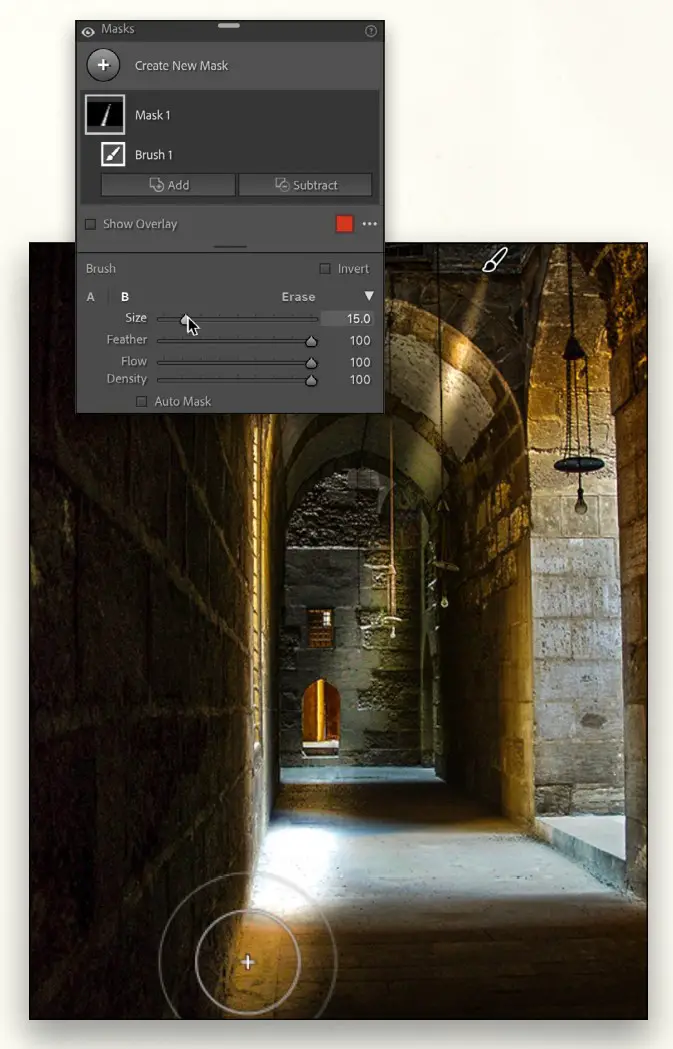
Next, switch to the B brush. Ensure that the Feather and Flow parameters remain at 100, but increase the brush Size significantly (e.g., to 15.0). Position your cursor at the point where you want your beam to culminate, press and hold the Shift key, click once, and observe as it creates a straight line connecting your initial A brush click to the final B brush click. As it spans from point A to point B, the beam will gradually widen, forming the desired beam of light.
To achieve a softer appearance for the beam, move the Clarity slider to -100. If you wish to incorporate additional beams into your image, you can replicate this process as needed.
More: What is the Difference between JPEG and RAW Images in Photography?

Comments